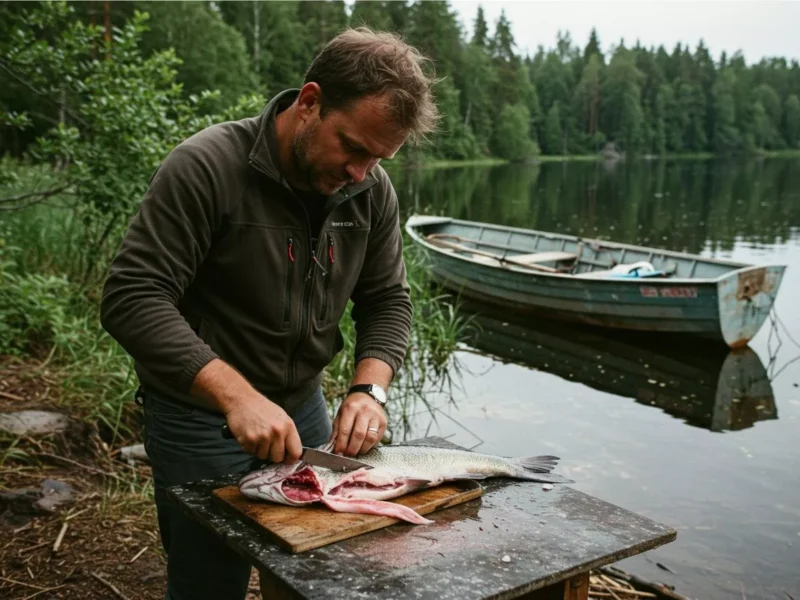
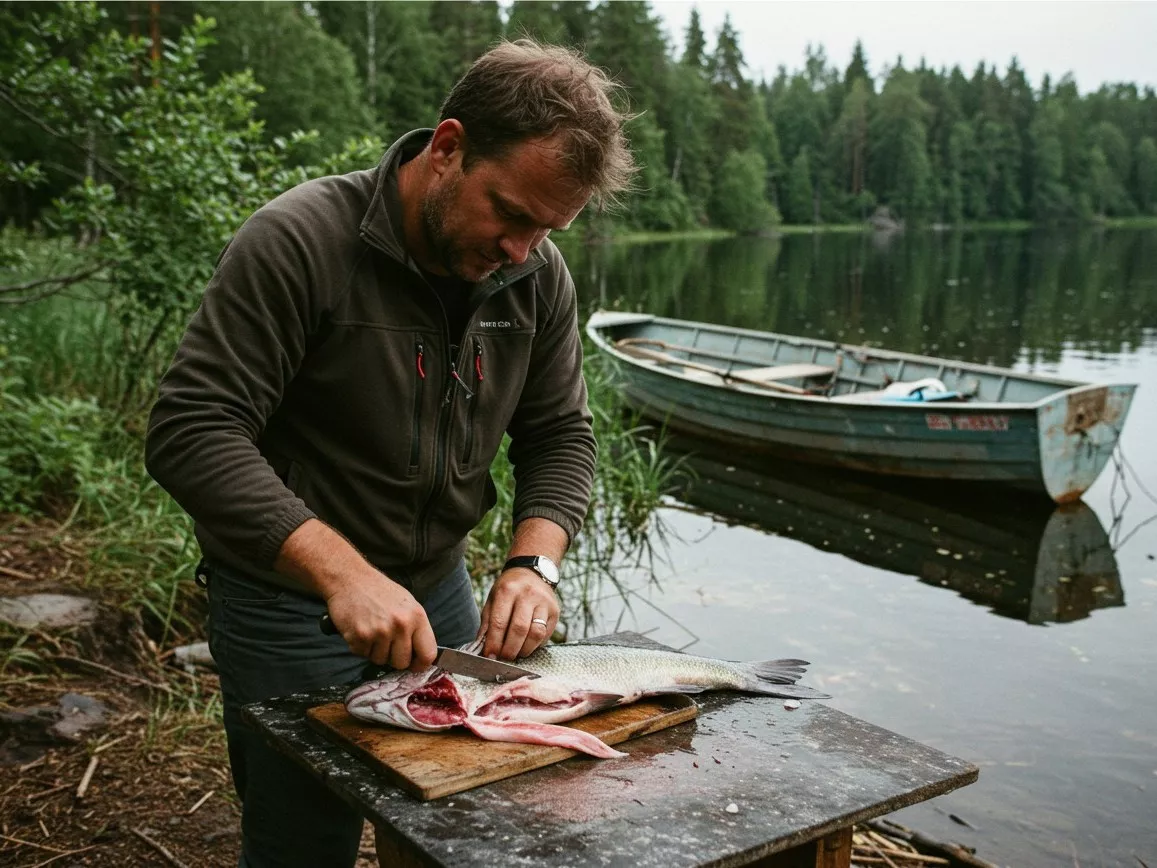
Let’s talk about taking your harvest from the field all the way to the dinner table. This is where true respect for the animal comes into play—and honestly, it’s one of the most rewarding parts of the entire process. It’s not just about making the shot; it’s about honoring the animal by ensuring that none of that valuable protein goes to waste. Think of it as the final act of the hunt. When done right, it makes all the difference in the quality of the meat you’ll eventually enjoy.
We’re going to walk through the essentials, from that critical first step in the field to getting that meat prepped for cooking. It might seem a little daunting at first, but with a bit of know-how and the right approach, you’ll be processing your own game like a seasoned pro.
The Critical First Steps: Field Dressing
Okay, you’ve made your harvest. Now the clock starts ticking. The absolute most crucial step to ensuring quality meat begins immediately after the animal is down: field dressing. This is all about cooling the animal down as quickly as possible to prevent bacterial growth. Heat is the enemy of good meat in the field.
Think about it: that animal’s body was just generating a lot of heat. You need to get the internal organs out to allow the body cavity to cool.
- Get to it quickly: Don’t wait around for photos and high-fives for too long. As soon as it’s safe to approach the animal, get ready to work.
- Stay clean: This is paramount. If you can, wear gloves. Have a sharp knife dedicated only to field dressing. Avoid puncturing the stomach or intestines if at all possible, as this can contaminate the meat.
- Open the cavity: Make an incision from the breastbone down to the pelvis. Be careful not to cut too deep initially, just through the skin and muscle layer. Use your fingers as a guide to keep the blade away from the organs.
- Remove the organs: Carefully work the organs free. For deer and other large game, you’ll need to reach up towards the diaphragm and sever the esophagus and trachea. Pull everything out. For birds, it’s usually a matter of reaching into the cavity and pulling the organ cluster free.
- Cooling is key: Once the cavity is open and the organs are out, prop the cavity open if possible to allow air circulation. In colder weather, this is often enough. If it’s warm, you might consider putting a bag of ice in the cavity for transport, but make sure the melted water can drain away.
Pro Tip: Carry a few yards of paracord. You can use it to tie off the esophagus and rectum (for larger game) before removing organs, which helps prevent… well, a mess.
Getting it Home: Transport
Field dressing is step one, but getting your harvest from the field to your processing area without spoiling is just as important.
- Protect from contaminants: Keep dirt, leaves, and insects away from the opened cavity. Game bags are your best friend here. For larger game, get heavy-duty, breathable game bags that cover the quarters and the main body cavity. For birds or small game, a cooler works well, but again, keep it clean.
- Keep it cool: If it’s a warm day, you absolutely need to prioritize cooling during transport. This might mean packing the cavity with ice (again, ensure drainage!) or getting the animal into a refrigerated space as soon as possible. Never transport a game animal long distances on a hot day exposed to the sun in the back of a truck. That’s a recipe for spoilage.
- Secure the load: Make sure the animal is secure during transport. You don’t want it shifting around and getting bruised or dirty.
From Field to Bench: Skinning and Butchering
Okay, you’ve got your harvest home and cooled down. Now for the main event: turning that animal into usable cuts of meat. This is where having a clean workspace and sharp tools pays off big time.
- Cleanliness, cleanliness, cleanliness: I can’t stress this enough. Sanitize your workspace, your tools, and your hands constantly. This prevents introducing bacteria that can ruin the meat.
- Sharp knives are safer knives: A sharp knife requires less force, meaning less chance of slipping and cutting yourself. Have a good set of skinning and boning knives, and know how to use a steel or sharpener to keep an edge.
- Skinning: The goal is to remove the hide efficiently without cutting into the meat. For deer, hanging the animal makes skinning much easier, letting gravity do some of the work. Start with your relief cuts and work your way around, using your knife to separate the hide from the muscle and your free hand to pull the hide taught. For smaller game or birds, it’s a different technique, often involving “slipping” the skin or carefully cutting.
- Butchering Basics: This is where knowing basic animal anatomy helps. You’ll be separating muscles and muscle groups. Start by removing the four quarters and the backstraps (the loins along the spine) and the tenderloins (inside the body cavity). These are your prime cuts.
- Quartering: For deer, you’ll detach the front legs at the shoulder joint and the hind legs at the hip joint.
- Backstraps and Tenderloins: Carefully slice along the spine to remove the backstraps. The tenderloins are inside the body cavity, along the underside of the spine.
- Breaking Down Quarters: Each quarter is a collection of muscles. You can bone these out, separating individual muscles or groups of muscles for roasts, steaks, or grinding.
- Trimming: As you butcher, trim away any damaged meat, excess fat, silverskin (that tough, silvery membrane), and any tissue that looks questionable. Wild game fat can often have a strong, sometimes unpleasant, flavor compared to domestic animal fat, so many folks trim most of it away.
Gear Insight: A good set of butchering knives, a sturdy cutting board (plastic or food-grade polyethylene is easy to sanitize), and a gambrel or hoist if you’re dealing with larger game will make this process much smoother.
Packaging and Storage: Preserving Your Harvest
You’ve done the hard work of butchering. Now you need to protect that meat and preserve its quality for the future.
- Packaging is critical: Air is the enemy of frozen meat, leading to freezer burn.
- Vacuum Sealing: This is the gold standard. A good vacuum sealer removes all the air and creates an airtight seal, preserving meat quality for a year or even longer in the freezer.
- Freezer Paper/Wrap: If you don’t have a vacuum sealer, use heavy-duty freezer paper or plastic wrap designed for freezing. Wrap the meat tightly, pressing out as much air as possible, and then wrap again to ensure a good seal.
- Labeling: Don’t skip this! Label each package with the type of meat, the cut, and the date. You’ll thank yourself later when you’re rummaging through the freezer.
- Cool Down Before Freezing: Ensure the meat is thoroughly chilled before freezing. Putting warm meat in a freezer can raise the temperature of other items and affect their quality.
- Freezing Temperature: Your freezer should be at 0°F (-18°C) or lower for optimal long-term storage.
From Freezer to Fork: Preparing Wild Game
Alright, the moment of truth! Cooking that hard-earned wild game. Wild game is typically leaner than farm-raised meat, so it often benefits from different cooking methods.
- Thawing: The best way to thaw frozen game is slowly in the refrigerator. This minimizes moisture loss. Avoid thawing at room temperature.
- Dealing with “Gaminess”: Some people find wild game has a stronger flavor, often referred to as “gaminess.” This can be influenced by the animal’s diet, age, and how well it was handled in the field.
- Trimming: Removing fat and silverskin during butchering helps a lot, as off-flavors can concentrate in the fat.
- Marinating: Marinades, especially acidic ones (like those with vinegar, citrus juice, or yogurt), can help tenderize the meat and mask strong flavors.
- Soaking: Some folks soak game meat in saltwater, milk, or buttermilk for a few hours or overnight in the refrigerator. The jury’s out on the scientific effectiveness of this for removing gaminess, but many swear by it. It certainly doesn’t hurt to try.
- Cooking Lean Meat: Because it’s leaner, wild game can dry out quickly if overcooked.
- Lower and Slower: For tougher cuts, think low and slow cooking methods like stews, braises, or roasts cooked at lower temperatures.
- High and Fast: For tender cuts like backstraps or tenderloins, quick searing or grilling to medium-rare or medium is often best. Don’t cook it well-done unless you like shoe leather!
- Adding Fat: Sometimes adding a little fat during cooking (like wrapping in bacon or cooking in butter or oil) can help keep lean cuts moist.
Processing your own wild game is a fundamental skill for any serious outdoors person who intends to eat their harvest. It connects you more deeply to the food you consume and ensures you’re getting the highest quality meat possible. It takes practice, but each animal you process will teach you something new. So, set up a clean space, grab your sharpest knives, and take pride in knowing you’re taking your field-to-table journey the whole nine yards. Enjoy the process, and enjoy the delicious, healthy protein that results!

