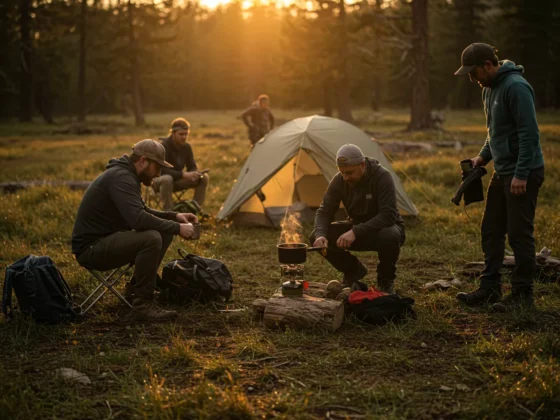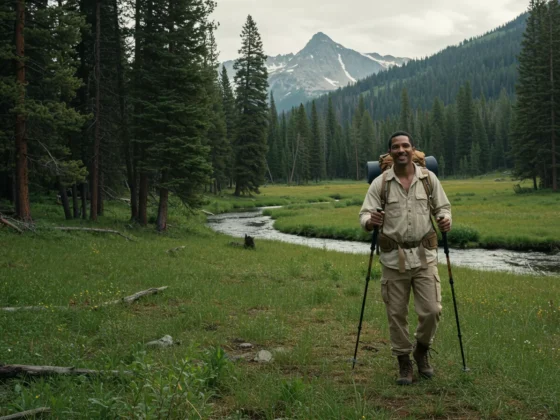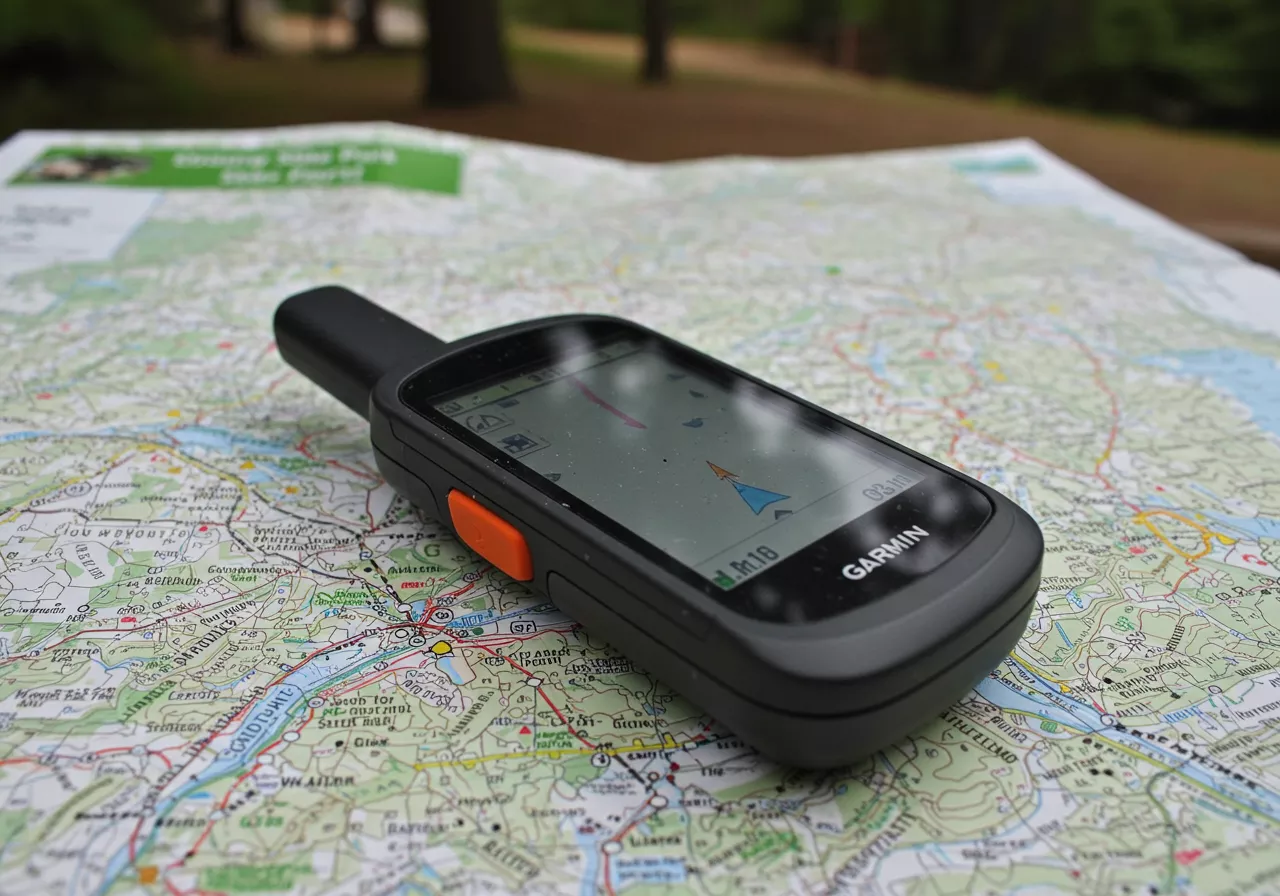
Let’s talk about finding your way when the trail fades—or when there’s no trail at all. Sure, we’ve got GPS units and slick phone apps now, and they’re great tools to have in your pack. But what happens when the battery dies, the signal disappears, or your screen ends up in pieces? That’s when the old-school skills really shine. Knowing how to navigate without tech isn’t just a backup plan—it’s what sets a true outdoorsman apart. It’s about tuning into the land, reading its cues, and trusting the instincts and knowledge you’ve earned along the way.
Think of it like this: your GPS is the quick answer key, but map, compass, and natural signs? That’s understanding the why behind the answer. It’s the difference between being told where to go and knowing where you are and how to get where you need to be.
The Bedrock: Map and Compass
This is your primary backup, your trusty co-pilot when the electronics fail. You absolutely gotta know how to use these together.
- The Map: Not just any map will do for serious navigation off-trail. You want a topographic map. Why? Because it shows you the shape of the land – the hills, valleys, ridges, and saddles. Those squiggly lines (contour lines) are gold; they tell you how steep the climb is going to be and what the terrain looks like without being there.
- Key Elements to Know: Look for the scale (how much real-world distance is represented on the map), the legend (what do all those symbols mean?), and the declination diagram (more on this in a sec).
- The Compass: Your magnetic north finder. Simple in concept, but powerful when used right.
- Basic Anatomy: You’ve got a baseplate (the clear part with rulers and direction of travel arrow), a housing (the spinning part with the cardinal directions and degrees), and the magnetic needle (the red end usually points toward magnetic north). A good quality baseplate compass with a clear baseplate is what you want for map work. They’re rugged and functional.
Putting Them Together: Orienting Your Map
This is the first crucial step. You need to make your map line up with the actual terrain around you.
- Lay your map flat.
- Place your compass on the map so the edge of the baseplate is parallel to a north-south grid line (or the edge of the map if it’s aligned north).
- Ignore the magnetic needle for a second. Find the declination diagram on your map. This shows you the angle between True North (the top of your map) and Magnetic North (where your compass needle points). This angle changes depending on where you are in the world. If your map says declination is 15 degrees West, Magnetic North is 15 degrees west of True North. If it’s 10 degrees East, Magnetic North is 10 degrees east of True North.
- Now, rotate the map (with the compass on it, keeping the baseplate aligned with the grid line) until the red magnetic needle points to the correct declination relative to True North on the map. Most compasses have a way to adjust the housing or use orienting lines to help with this. Once the needle is pointing correctly relative to the map’s north, your map is oriented! North on the map is now pointing to North in the real world.
Navigating with a Bearing
Once your map is oriented, you can plot a course.
- Pick Your Destination: Find where you are on the map and where you want to go.
- Draw a Line (or imagine one): Place the edge of your compass baseplate on your current location and pivot it so the edge points directly at your destination. Make sure the “Direction of Travel” arrow on the baseplate points towards your destination.
- Read the Bearing: Hold the baseplate steady. Rotate the compass housing until the “Orienting Arrow” inside the housing (often looks like a shed) is aligned with the red magnetic needle. Make sure the red needle is pointing into the orienting arrow. The number on the compass housing at the “Direction of Travel” arrow is your bearing (e.g., 45 degrees).
- Follow the Bearing: Pick up your compass. Hold it level in front of you, with the Direction of Travel arrow pointing away from you. Rotate your body until the red magnetic needle is once again aligned inside the orienting arrow in the housing. The Direction of Travel arrow on your baseplate is now pointing exactly the direction you need to walk.
- Stay on Course: Pick a landmark in the distance that lines up with your Direction of Travel arrow (a distinct tree, rock, etc.). Walk to that landmark. Repeat the process from there if needed. This helps you stay on a straight line even in thick terrain.
Common Pitfalls:
- Forgetting Declination: This is a big one! Even a few degrees off can put you way off course over a long distance. Always check the map’s declination and adjust your compass use accordingly. Some fancy compasses let you set the declination internally, which is handy.
- Not Trusting the Compass: If the terrain forces you around an obstacle (like a cliff or thick brush), don’t just wander. Go around the obstacle, but then use your compass again to regain your original bearing on the other side. Techniques like “offsetting” or “triangulation” (more advanced topics for another time) help you pinpoint your location or navigate around barriers more precisely.
Adding Layers: Natural Wayfinding
These are complementary skills, not replacements for map and compass, but they add another dimension to your awareness. Think of them as confirming or giving you a general idea when you need a quick check.
- The Sun: Rises generally in the east, sets generally in the west. At noon, it’s roughly in the south in the Northern Hemisphere. This gives you basic cardinal directions.
- The Stars: Find Polaris, the North Star. It’s part of the Little Dipper and stays relatively fixed in the northern sky. Find the Big Dipper, the two stars at the end of the “cup” point directly to Polaris. Boom, there’s North.
- Terrain Association: This is huge when combined with a topo map. Look at the shapes of the hills and valleys on your map and compare them to what you see around you. “Okay, that big, rounded hill should be just west of me, and I should be in this small valley.” Features like streams, power lines, or distinct rock formations are also excellent navigation aids when you can spot them on the map and on the ground.
- Moss and Tree Growth: Here’s where the old tales get a little fuzzy. While moss can sometimes prefer shadier, often north-facing sides of trees in some environments, it’s not a reliable indicator everywhere. Local conditions, humidity, and tree type play a big role. Don’t bet your life on this one!
Bringing It All Together
The most confident navigators use all these tools in concert. They orient their map, take a bearing, and start hiking, but they’re also constantly looking at the terrain, checking the sun’s position, and making sure what they see matches what the map says they should be seeing. It’s a constant process of confirming your location and direction.
Pro Tip: Practice, practice, practice! Don’t wait until you’re truly lost to figure this stuff out. Grab a map and compass, head to a local park or a familiar area, and practice orienting the map, taking bearings to visible landmarks, and walking those bearings. Do it in good weather first, then try it when it’s overcast or rainy.
Navigating by map and compass, enhanced by reading the natural world, builds a skill set that connects you more deeply to the outdoors and provides a profound sense of self-reliance. It’s not just about not getting lost; it’s about the confidence to explore further, knowing you have the tools and the knowledge to find your way home. So, grab that map and compass, and go explore the unknown – safely!