Let’s talk shelter—because few things will sour a good time in the backcountry faster than a surprise storm and no solid place to ride it out. I’ve seen it firsthand: a bluebird morning lulls folks into a false sense of security, they pitch camp half-heartedly, skip a few guy lines thinking it’ll stay calm. Come evening? Tent poles buckling like saplings in a gale, and everyone scrambling for soggy rain gear. Trust me, that’s not the kind of adventure memory you want to make.
Building or selecting the right camp structure ain’t just about staying dry; it’s about security, warmth, and peace of mind when the wind starts howling and the rain decides to fall sideways. It’s a fundamental skill, like knowing how to start a fire or read a map.
So, let’s break it down.
Your Options When the Weather Turns Sour
When it comes to shelter in the wild, you’ve got a few main plays:
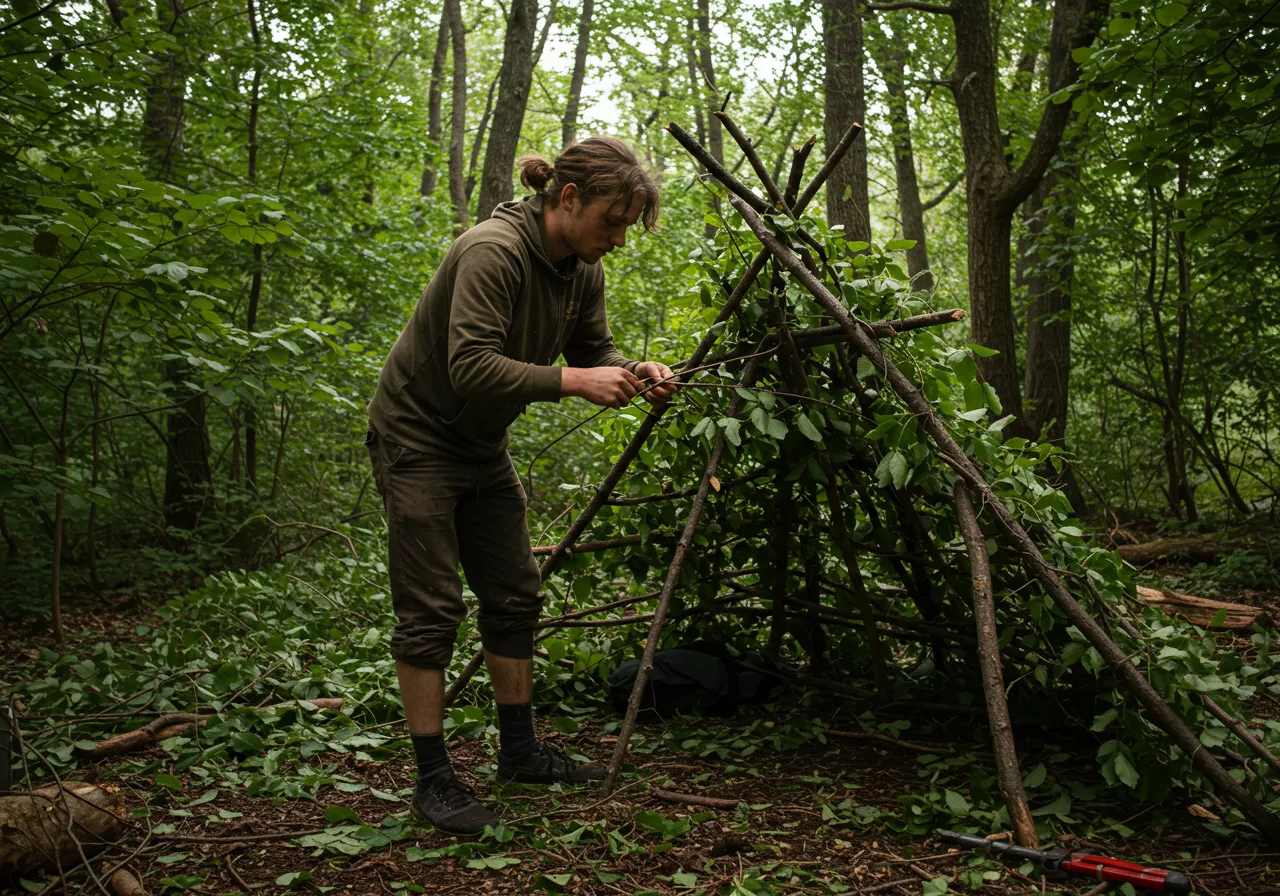
- Natural Shelters: Think rock overhangs, thick stands of pine, or even digging a snow cave in the right conditions. These are survival skills, pure and simple. Great to know if you’re caught truly unprepared, but for planned camping, you want something a bit more reliable and less… exposed. We’re focusing on purpose-built structures today.
- Tarps: Ah, the humble tarp. Don’t underestimate this piece of fabric! Lightweight, incredibly versatile, and with a bit of know-how, you can pitch a bombproof shelter against wind and rain. They require poles (trekking poles work great), trees, or stakes and cordage. The beauty is you can adapt the pitch – lean-to, A-frame, plow point – depending on the wind direction and how much protection you need. Great for minimalists, hammocks campers, or as a cooking/social area supplement to a tent.
- Tents: The classic. This is what most folks picture for camping shelter. Tents offer enclosed protection from bugs and weather, and varying levels of insulation depending on the design. They come in countless shapes and sizes, but for weathering a storm, you need one built for the job.
Picking Your Fortress: What to Look For
If you’re choosing a tent with foul weather in mind, don’t just grab the cheapest option off the shelf. Think about these things:
- Season Rating: A 3-season tent is your general workhorse, designed for spring, summer, and fall conditions, including moderate rain and wind. A 4-season tent is built tougher, with stronger poles, more robust fabrics, and often a lower profile to handle heavy snow and high winds. Unless you’re heading out in winter gales regularly, a solid 3-season tent is usually plenty, provided it has good bones.
- Structure:
- Dome tents are common and relatively stable, especially if they have multiple pole intersections.
- Tunnel tents offer good interior space but need to be pitched correctly into the wind for maximum stability.
- Geodesic or Semi-Geodesic tents have complex pole structures that create many triangles, making them incredibly strong and able to withstand high winds from multiple directions. These are often the go-to for serious weather.
- Materials: Look for durable, ripstop nylon or polyester for the fly and canopy. Check the waterproofing rating (often measured in millimeters). A higher number means more resistance to water penetration. Seam sealing is crucial – make sure the seams are taped or can be sealed effectively. Poles should ideally be aluminum – it’s stronger and more durable than fiberglass, which can snap unexpectedly in high winds.
- Features:
- Robust Zippers: Storm flaps over the zippers are a must to prevent leaks.
- Good Ventilation: Sounds counter-intuitive in a storm, right? But proper vents help manage condensation inside the tent. You don’t want to stay dry from the rain just to get soaked by your own breath and sweat.
- Adequate Vestibules: These are the unsung heroes. A good-sized vestibule gives you a place to stash wet gear, cook (carefully, with ventilation!), and transition in and out of the tent without bringing the storm inside with you.
- Plenty of Guy-Out Points: These reinforced loops on the tent body and fly are where you attach cordage to stake out and tension the tent, significantly increasing its wind resistance. Don’t ignore them!
Pitching Your Shelter: Site Selection is KING
Got your shelter? Great. Now, where do you put it? This might be the most critical step when anticipating bad weather.
- Avoid Low Points: Gullies, depressions, or the bottom of a slope are basically funnel systems and collection points for water. Pitch there and you might wake up in a puddle or, worse, a flowing stream.
- Beware of Exposed Ridges: While you get a view, you also get the full, unadulterated force of the wind. Unless you’re in a seriously burly 4-season tent designed for it, find somewhere a bit more protected.
- Look for Natural Windbreaks: A stand of trees (healthy ones, not dead snags ready to fall!), a large boulder, or a rise in the terrain can significantly cut down on wind speed hitting your shelter. Pitch on the downwind side of these features.
- Check for Overhead Hazards: Dead branches (“widowmakers”), loose rocks, or unstable trees are a no-go zone. Scan above your potential site carefully.
- Ground Type: Can you get your stakes in securely? Soft sand, loose soil, or rocky ground can make solid anchoring tough.
Nailing the Pitch: Making it Stormproof
Okay, you’ve found your spot. Now pitch it like you mean it.
- Orient Correctly: For tents, if you know the wind direction, pitch the narrowest or lowest profile end of the tent into the wind. This presents the smallest surface area to the force. For tarps, consider a plow point or a low A-frame pitch also facing into the wind.
- Stake It Out Solid: Don’t just poke the stakes in. Drive them firmly into the ground at an angle (usually around 45 degrees), away from the tent. This gives them maximum holding power against uplift and tension. If the ground is soft, try “deadmanning” your stakes – burying them horizontally perpendicular to the guy line, or use larger objects like rocks or logs as anchors.
- Use ALL the Guy Lines: I see this far too often. Folks skip the guy lines because the tent “looks” stable. Those guy lines are critical tension points that transfer wind load from the tent fabric and poles down to the ground. Attach them, tension them properly, and stake them out. They are the extra insurance policy you will be glad you have when things get rough.
- Tension is Key: Once everything is staked and guyed out, go around and make sure the fabric is taut. This prevents flapping (which is annoying and weakens the fabric/poles over time) and ensures the load is distributed correctly. Don’t overtension to the point of bending poles, but aim for a firm, wrinkle-free pitch.
- Integrate the Fly: Make sure your tent fly is correctly positioned and fully covers the inner tent. All attachment points between the fly and the tent body or poles should be secured. This is your primary waterproof barrier.
Gear That Earns Its Keep
Beyond the main shelter itself, a few bits of kit really shine when the weather turns nasty:
- Good Stakes: The little wire stakes that come with many tents are often next to useless in anything but perfect soil. Carry a set of more aggressive stakes – Y-stakes or V-stakes are great all-rounders. If you’re expecting sandy conditions, get some wide sand stakes.
- Extra Cordage: A hank of paracord or other strong cordage is invaluable for rigging extra guy lines, creating tension systems, or making emergency repairs.
- Tensioners: Small plastic or metal tensioners on your guy lines make it easy to adjust tension even in windy conditions. Learn how to use knots like the taut-line hitch if your lines don’t have tensioners.
- Groundsheet/Footprint: While not directly for the storm above, a footprint protects the bottom of your tent from abrasion and adds an extra layer of waterproofing from ground moisture trying to seep up. Make sure it doesn’t stick out beyond the tent floor, or it will collect water and funnel it under your tent.
Mistakes? We All Make ‘Em. Learn From ‘Em.
Like I said, I’ve seen folks caught out. Common screw-ups include:
- Ignoring the forecast: Weather changes fast in the outdoors. Always check before you go, and be prepared for it to be worse than predicted.
- Lazy pitching: Not using all the stake points or guy lines because it seems like too much effort. That effort is your protection.
- Poor site selection: Ending up in a puddle or a wind tunnel because you didn’t take a few minutes to evaluate the terrain.
- Not practicing: Trying to figure out how to pitch a new tent or tarp configuration for the first time in a downpour with numb fingers? Not fun, not effective. Practice in your backyard.
Pro Tip: Even if the forecast is perfect, always pitch your shelter as if a storm is coming. Use all the points, stake it solid. It’s good practice, and you’ll be ready if the sky decides to surprise you.
Look, having a solid shelter plan isn’t about being paranoid; it’s about being prepared. It’s about respecting the power of nature and ensuring you’ve got a safe, dry, and secure spot to ride out whatever comes your way. Do it right, and you might just find that hunkering down and listening to the rain on the fly can be one of the most peaceful parts of your trip.
Stay dry out there!